I love One Pretty Thing! Rachel always does a fab job of finding and sharing lots of crafty diy how-to's from all over the web. If you haven't checked out the site please do so!
SEARCH THIS BLOG
Showing posts with label Valentine's Day Mailbox Tutorial. Show all posts
Friday, February 11, 2011
I was excited to see today that the Upcycle Valentine's Mailbox I created for my daughter's Bugs & Kisses party was included in the Valentine's Day Roundup on One Pretty Thing. HOW COOL IS THAT?
I love One Pretty Thing! Rachel always does a fab job of finding and sharing lots of crafty diy how-to's from all over the web. If you haven't checked out the site please do so!
Wednesday, February 9, 2011
Upcycled Valentine's Mail Box Tutorial
When I saw this Valentine's Chairbacker at Pottery Barn Kids I was instantly inspired to create a smaller paper version of one for the Bugs & Kisses Party that I'm having for my daughter.
I created one using a red, letter size file folder. Actually I made a mock up of one last night but it was hideous. So, I whipped up an entirely new one during my lunch break today - so, forgive me if the backgrounds look a little whacky!
Here's a Tutorial on how you can make your own.
Supplies you will need:
Letter size file folder (I used red)
Ruler
Pencil
Scoring Tools
Bone Folder
Scissors or Cutting Blade
Double-sided tape or Glue
Ribbon
Velcro dots
Chip Board, Die Cut or Sticker Letters
(You can also print out the letters I used found at the end of this post)
Love Bugs Printable Circle Tags
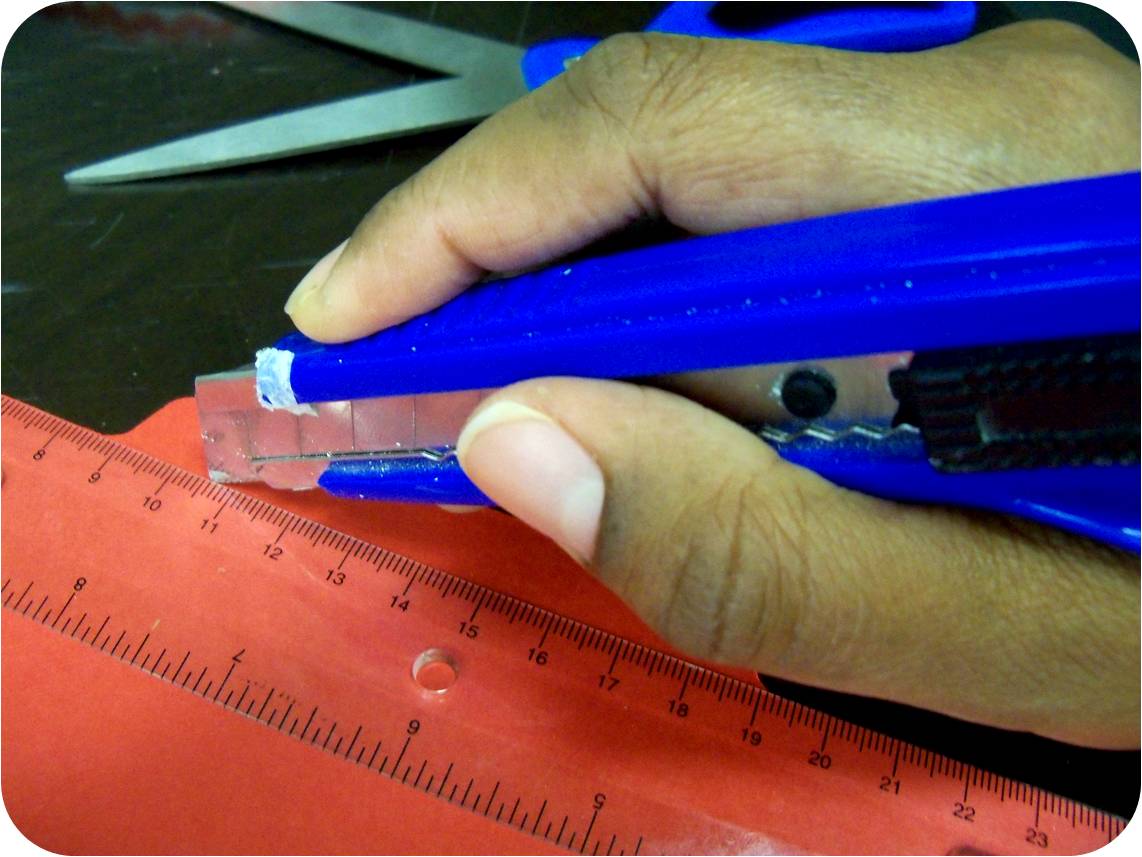
Trim tabs from the folder.
You should end up with a 17" sheet of paper to work with.
Using the measurement guide (next photo) with a ruler & pencil measure your box then, score, cut and fold where indicated. If you have a scoring board use it - I have one and I LOVES IT - didn't have it with me at work though......
Your disassemble box should look at bit like this:
Next - assemble your box!
Check this out: I didn't have a glue stick with me so, I stuck the letters to a roll of double stick tape and cut them out with a sharp blade.
Voila! Your box is ready for Valentine's and other sweet treats!
I created one using a red, letter size file folder. Actually I made a mock up of one last night but it was hideous. So, I whipped up an entirely new one during my lunch break today - so, forgive me if the backgrounds look a little whacky!
Here's a Tutorial on how you can make your own.
Supplies you will need:
Letter size file folder (I used red)
Ruler
Pencil
Scoring Tools
Bone Folder
Scissors or Cutting Blade
Double-sided tape or Glue
Ribbon
Velcro dots
Chip Board, Die Cut or Sticker Letters
(You can also print out the letters I used found at the end of this post)
Love Bugs Printable Circle Tags
Trim tabs from the folder.
You should end up with a 17" sheet of paper to work with.
Using the measurement guide (next photo) with a ruler & pencil measure your box then, score, cut and fold where indicated. If you have a scoring board use it - I have one and I LOVES IT - didn't have it with me at work though......
Your disassemble box should look at bit like this:
Next - assemble your box!
About 3/4" from the edge, cut a 31/4" x 1/4" rectangle in the top center of the lid. Next, attach a 31/4" strip of paper or ribbon from the front inside of the lid. Add a Velcro Dot to the bottom of the strip.This creates a tab for you to attach a closure for your box. (btw-those lil' pink hearts are covering up a multitude of non-manicured hands sins)
Next decorate your mail box as desired. Feel free to use the print and cut letters I used for my project. If you right click on the words you can print the image directly.
Check this out: I didn't have a glue stick with me so, I stuck the letters to a roll of double stick tape and cut them out with a sharp blade.
Voila! Your box is ready for Valentine's and other sweet treats!
Subscribe to:
Posts (Atom)