I created one using a red, letter size file folder. Actually I made a mock up of one last night but it was hideous. So, I whipped up an entirely new one during my lunch break today - so, forgive me if the backgrounds look a little whacky!
Here's a Tutorial on how you can make your own.
Supplies you will need:
Letter size file folder (I used red)
Ruler
Pencil
Scoring Tools
Bone Folder
Scissors or Cutting Blade
Double-sided tape or Glue
Ribbon
Velcro dots
Chip Board, Die Cut or Sticker Letters
(You can also print out the letters I used found at the end of this post)
Love Bugs Printable Circle Tags
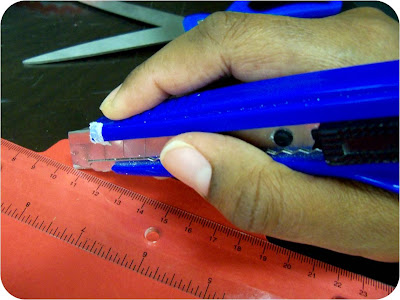
Trim tabs from the folder.
You should end up with a 17" sheet of paper to work with.
Using the measurement guide (next photo) with a ruler & pencil measure your box then, score, cut and fold where indicated. If you have a scoring board use it - I have one and I LOVES IT - didn't have it with me at work though......
Your disassemble box should look at bit like this:
Next - assemble your box!
About 3/4" from the edge, cut a 31/4" x 1/4" rectangle in the top center of the lid. Next, attach a 31/4" strip of paper or ribbon from the front inside of the lid. Add a Velcro Dot to the bottom of the strip.This creates a tab for you to attach a closure for your box. (btw-those lil' pink hearts are covering up a multitude of non-manicured hands sins)
Next decorate your mail box as desired. Feel free to use the print and cut letters I used for my project. If you right click on the words you can print the image directly.
Check this out: I didn't have a glue stick with me so, I stuck the letters to a roll of double stick tape and cut them out with a sharp blade.
Voila! Your box is ready for Valentine's and other sweet treats!


OMG this is the dag gone cuties thing I have ever seen!!!!!!
ReplyDeleteThanks for the DIY idea :)