

Hi! I am Kristal of Atutudes Hand Made Tutus and I am here to share a quick and easy no mess, yes – I said no mess – crown tutorial. I love items I can make quickly, easily, and no mess is a bonus. And I really love GLITTER! But glitter can be really messy. I have seen several crown tutorials, all requiring glitter and glue or spray paint and drying time. In my hectic schedule it sometimes can seem daunting thinking of the drying time and clean-up process afterwards. When I spotted these glitter fabric sheets at Hobby Lobby, a light bulb went off! The beauty of glitter and none of the mess. There is very little shedding from these sheets, so there will be minimal glitter specs in your hair and all over the house.
Approximate Time: 15 minutes
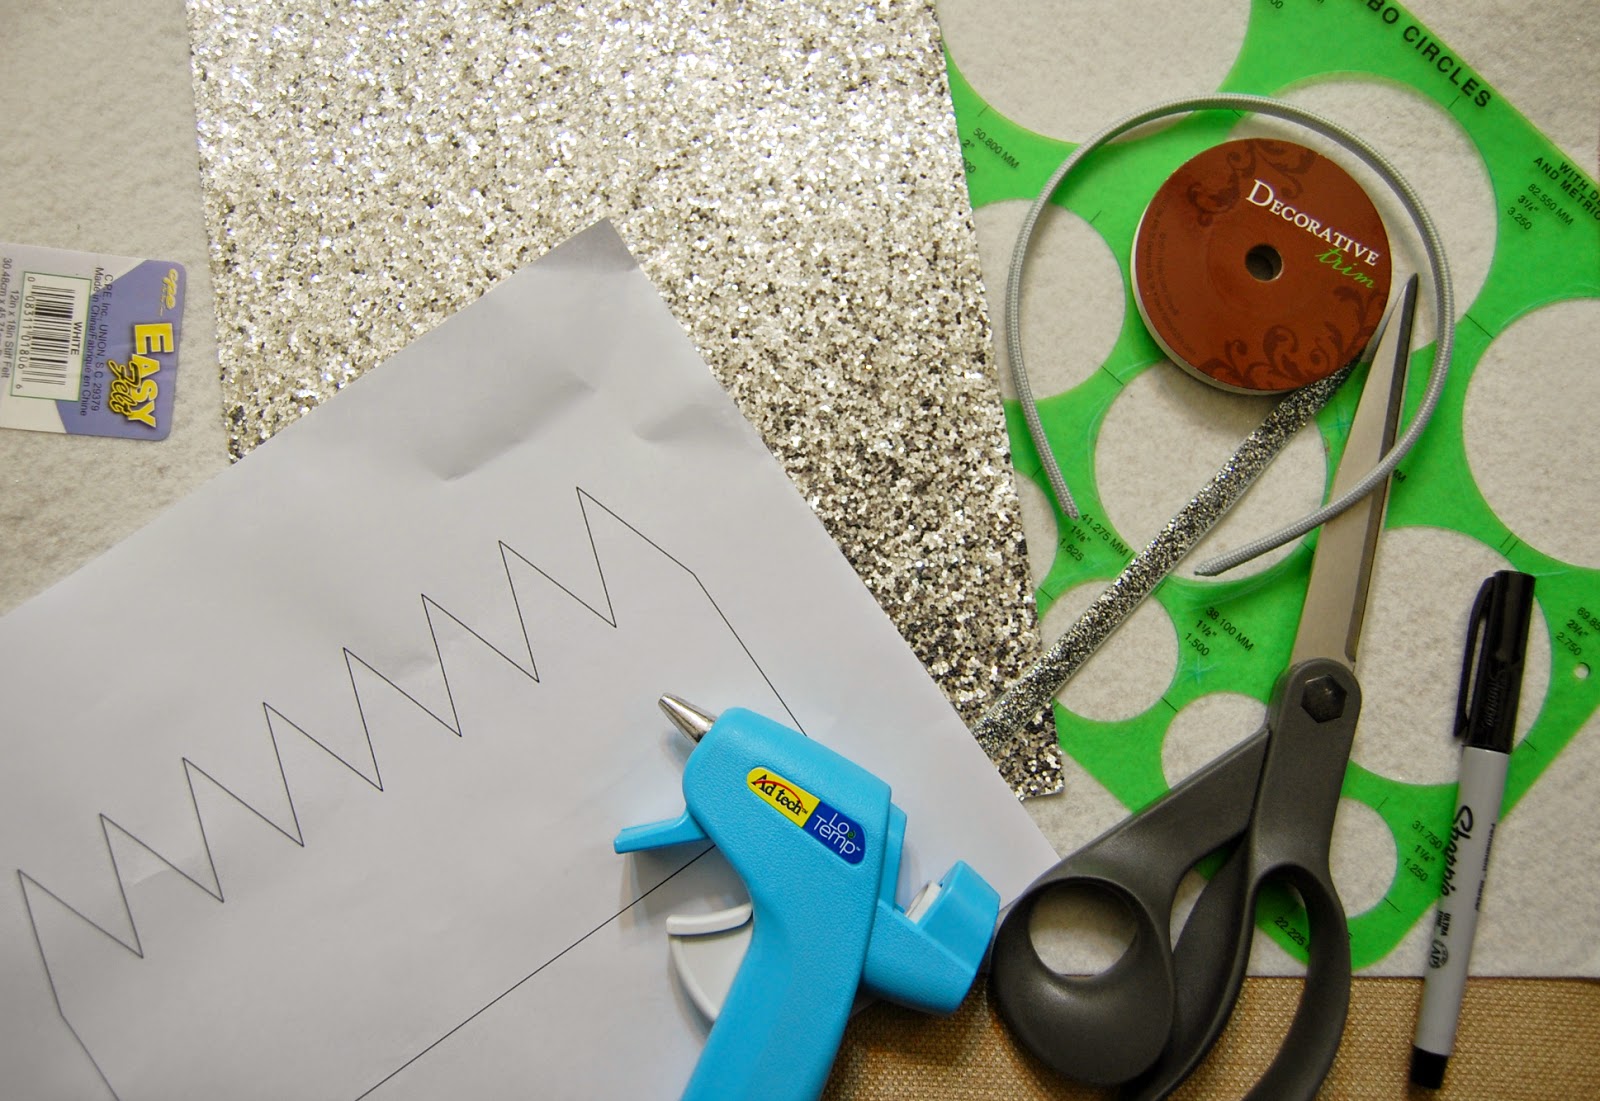
Materials Needed:
- 1 Sheet of Glitter Fabric or Glitter Foam (Glitter Fabric available at Hobby Lobby)
- 1 Fabric Covered Headband
- 1 Sheet of Stiff Felt
- Hot Glue Gun and Hot Glue Sticks
- Blue Dress Maker’s Pencil (or light colored pen)
- Sharp Scissors
- Circle Template (or 2.25” circle guide as pictured)
- Crown Template


Instructions:

Print out your circle and crown templates and cut them out along the lines.


Cut out the crown shape.


Fold one felt circle in half and cut 2 notches in the center wide enough to allow your headband to slide through.
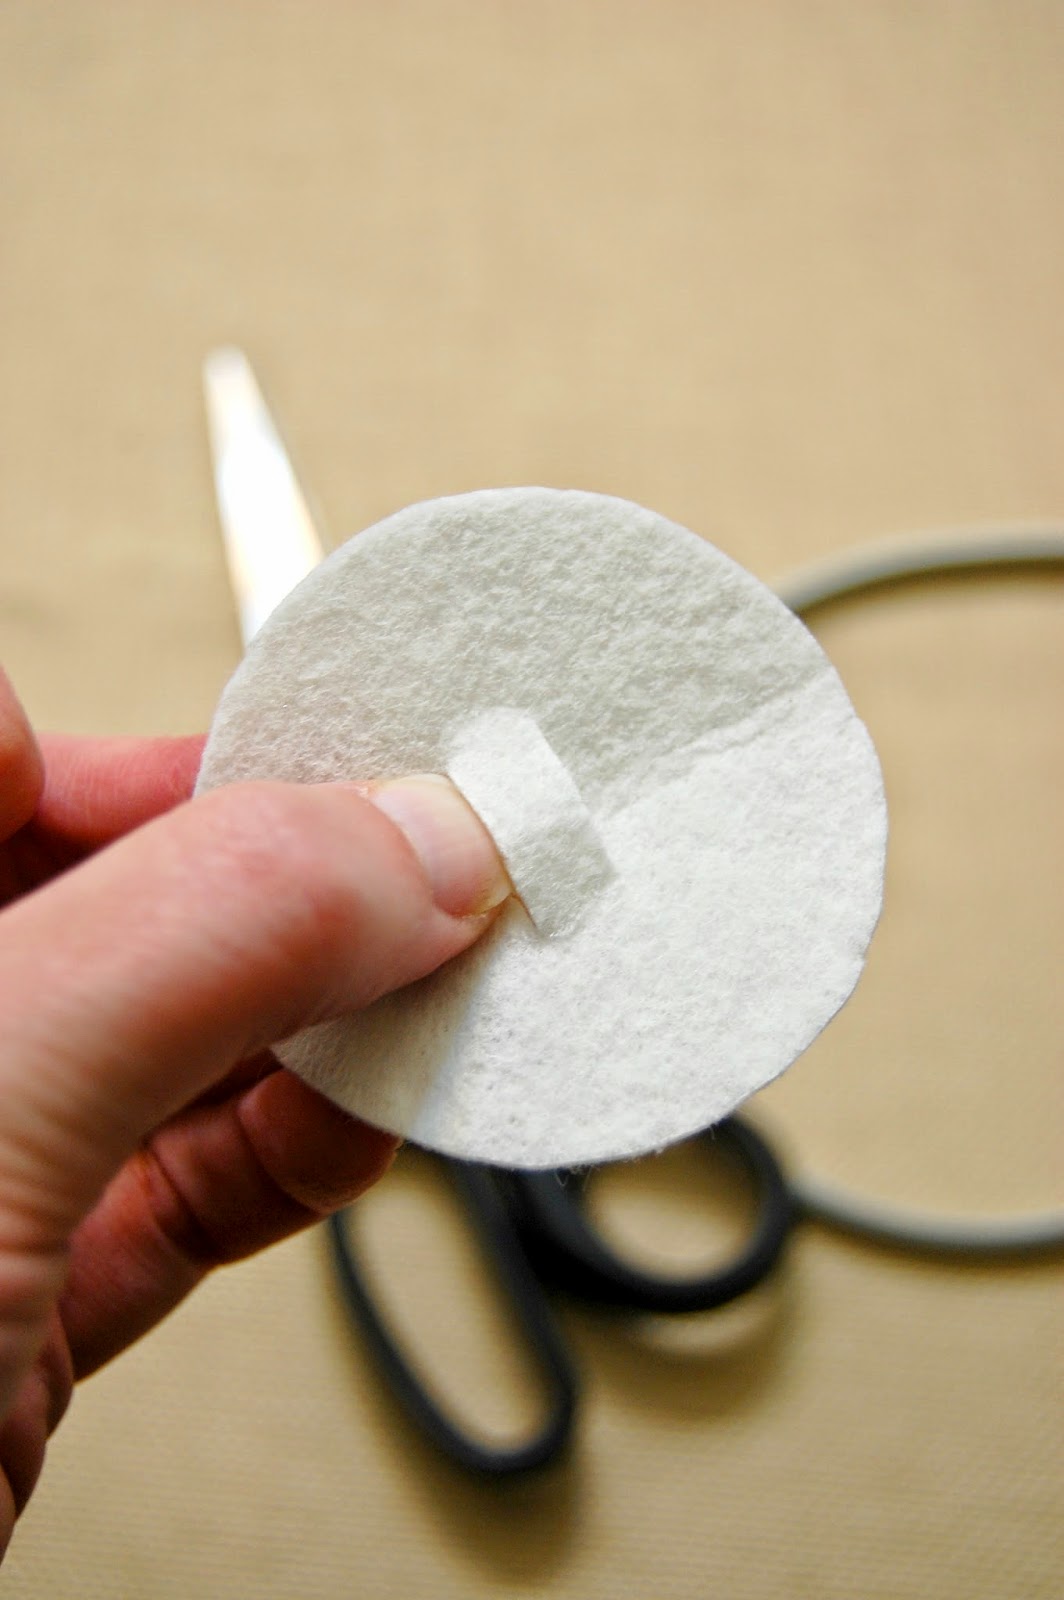

Feed the headband through the notches in the felt circle.

Position the circle where you want your crown to sit. I chose to place mine off center.

On the top of the headband, glue the second felt circle to the one with the notches to secure the headband.
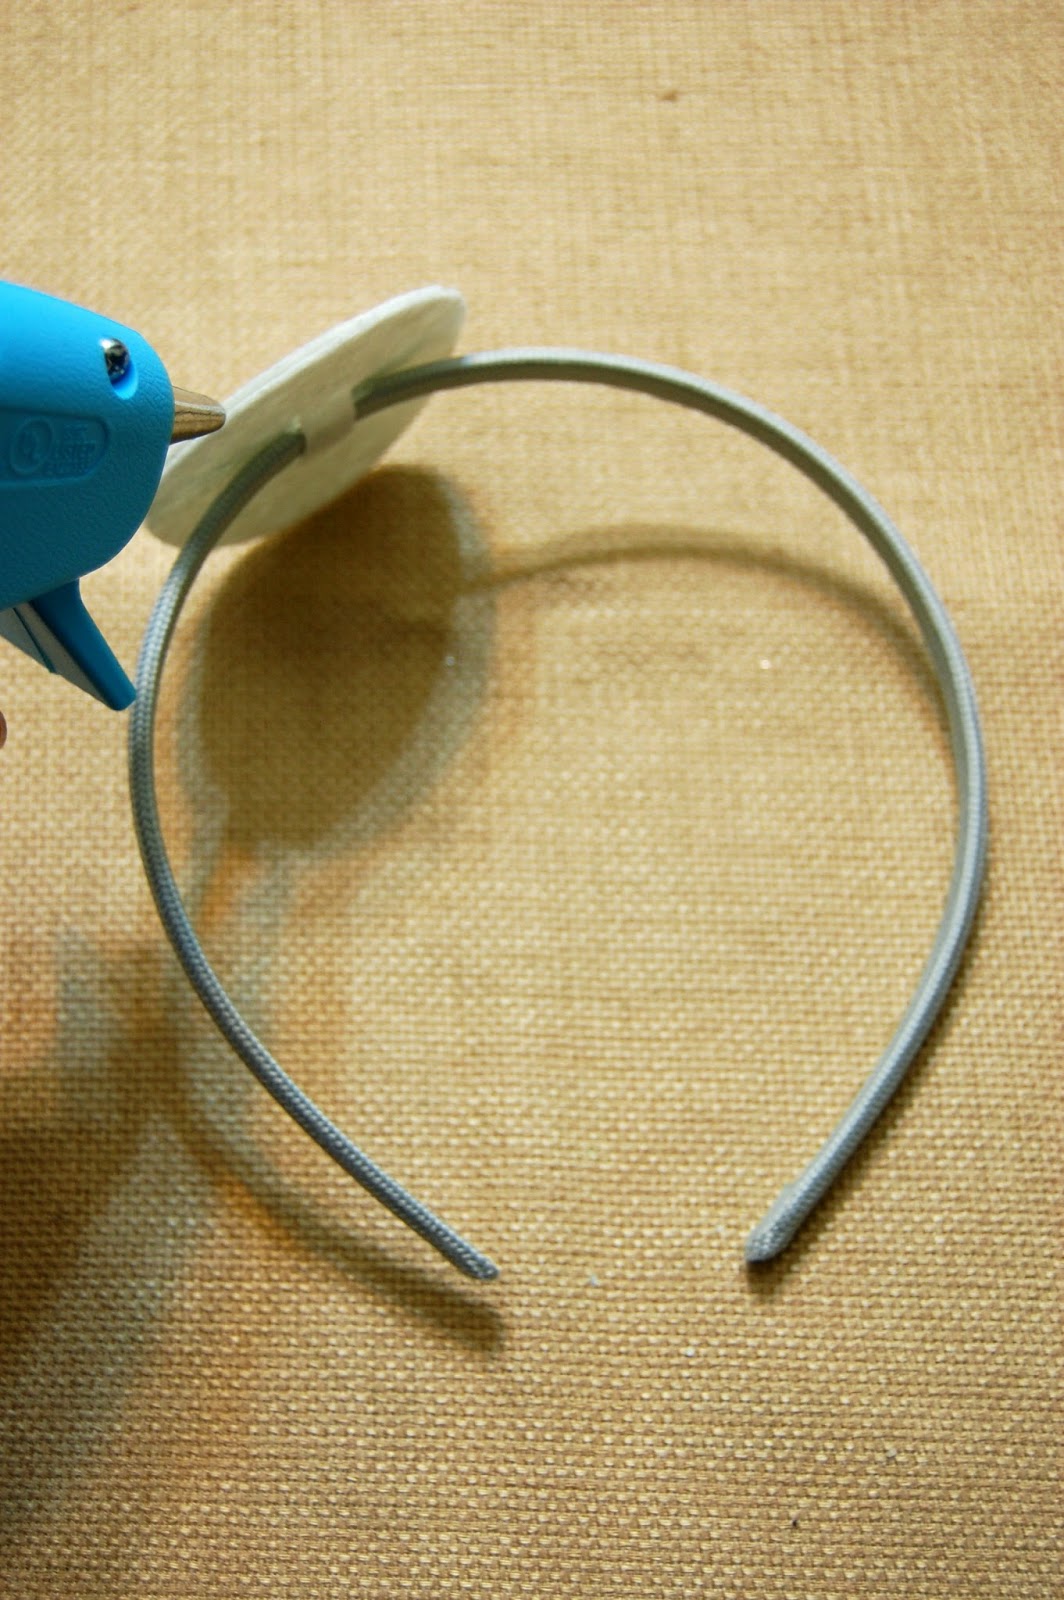

Place a bead of glue around the outside of the felt circles that you glued together. Quickly wrap the glitter crown form to around the felt to create the circular crown shape.

Add a strip of glue down the side to secure the edge of the crown.


My adopted ragdoll cat, Sierra is the princess at our castle! If you want to adapt it for your pet, you could substitute a ribbon in place of the headband. This may also work better for a smaller child so that it can be tied under the chin.
Now that you have your crown you need a princess dress! Visit us at www.atutudes.etsy.com or www.facebook.com/atutudes to see what we have to offer.
Follow our blog at www.atutudes.wordpress.com for more ideas and yummy recipes.
Instagram: www.instagram.com/atutudes
Twitter: @atutudes or www.twitter.com/atutudes
Pinterest: www.pinterest.com/atutudes


