SEARCH THIS BLOG

Showing posts with label #13DOHH2015. Show all posts

Thursday, October 22, 2015

Join the 13 Days of Handmade Halloween Pinning Party


Now that the 13 Days of Handmade Halloween series has wrapped what better way to share all that creativity but to host a Pinterest Party?!!!

Join me and my Handmade Halloween makers tonight, Oct. 22 from 8-9PM EST to share, repin and tweet even MORE awesome Halloween ideas and inspiration!  Wanna join us? Just be sure to login to your account on Pinterest, follow the 13 Days of Handmade Halloween Pinterest Board  and if you're for sure coming how about your Tweet about it now! 

Hope to see you there!


Wednesday, October 21, 2015

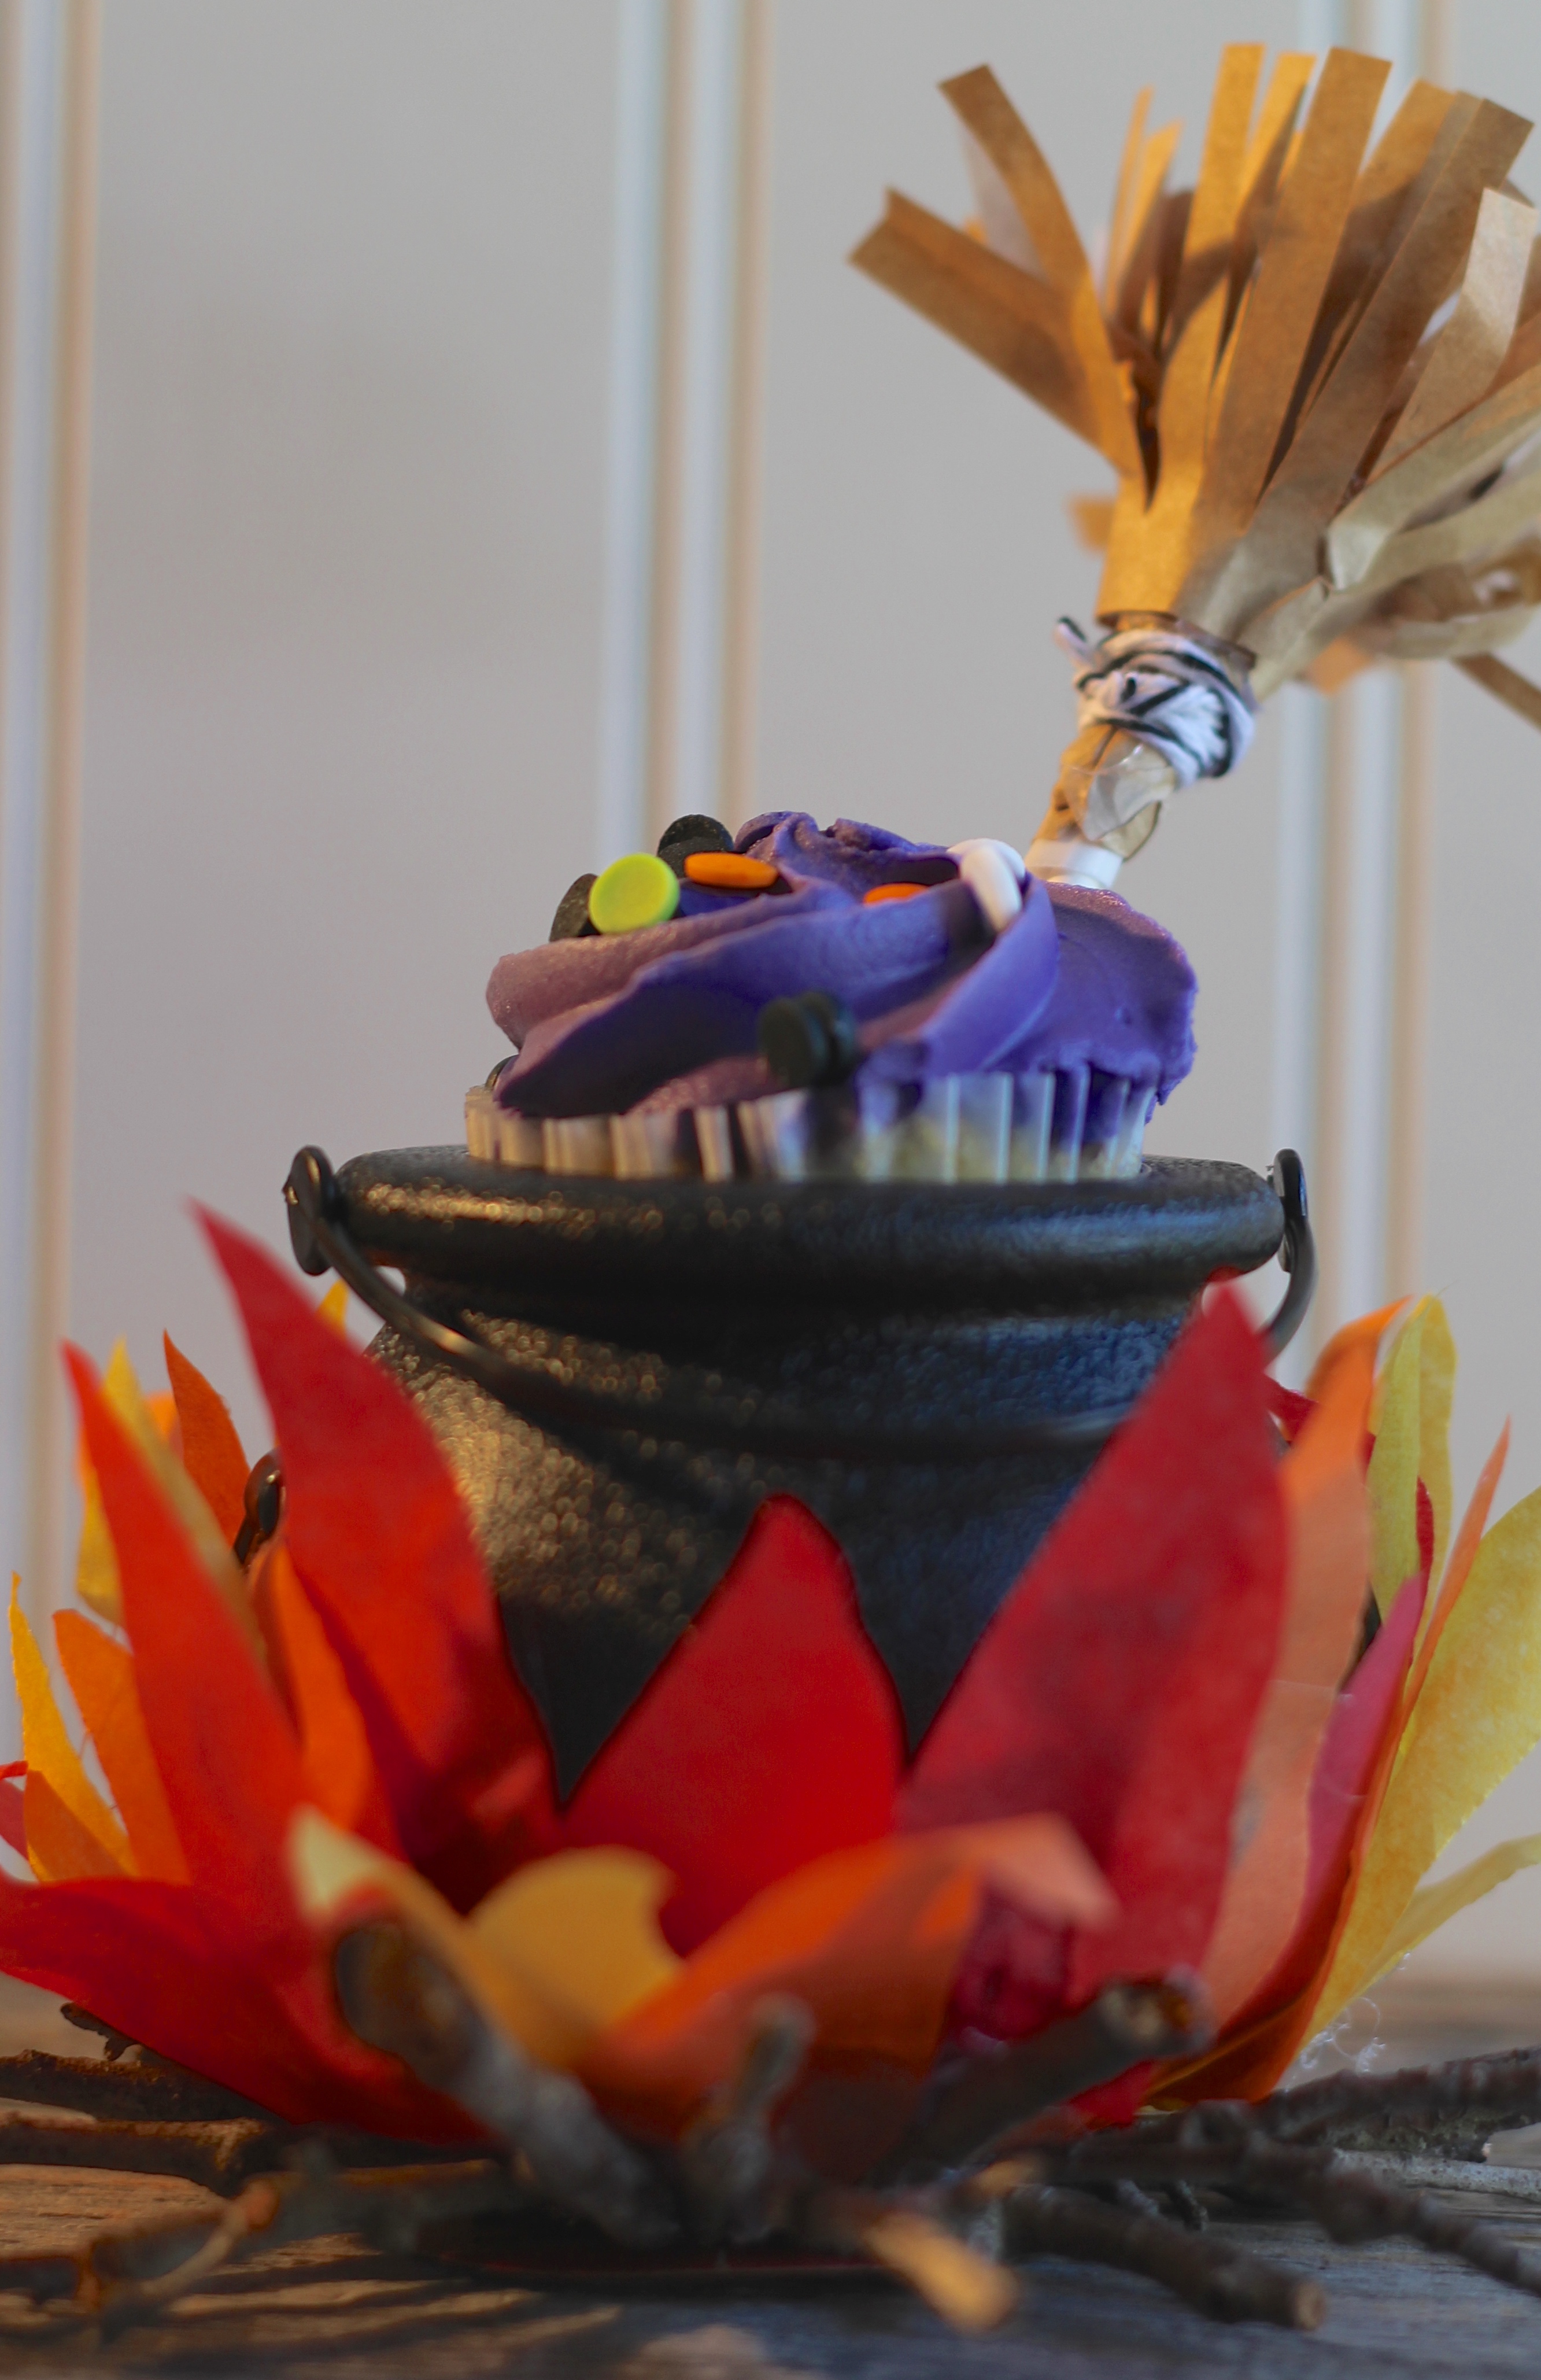
Halloween Cupcake Cauldron


Everyday Party Magazine 13 Days Of Handmade Halloween 2015


Hi, it's Jessica from Everyday Party Magazine, and I am so thrilled to be joining Cupcake Wishes and Birthday Dreams again this year for her Handmade Halloween series! I made this cupcake cauldron for my sweet friend's birthday recently and I just loved the way it turned out! 


Supplies:


Plastic Cauldron (I ordered a bunch from Oriental Trading Co.) 

Red, Orange, and Yellow Tissue Paper

Twigs

Hot Glue

2 Bite Cupcakes (I buy them at Target, and they are pretty good) 

Optional; lollipop, paper bag, and baker's twine, double sided tape

Everyday Party Magazine 13 Days Of Handmade Halloween 2015


Everyday Party Magazine 13 Days Of Handmade Halloween 2015


Begin but cutting your tissue paper into random flame shapes.  Carefully hot glue the flames on the bottom of the plastic cauldron.  Once you are happy with the flames, hot glue twigs around the edge of the cauldron.  Don't glue them under the cauldron or it won't be stable.  I added hot glue and a small round piece of chipboard to the bottom to help keep it more stable too.  At this point, you can pop a cupcake in it and call it done.  Or, you can turn your lollipop into a broom and stick it in the cupcake like I did.

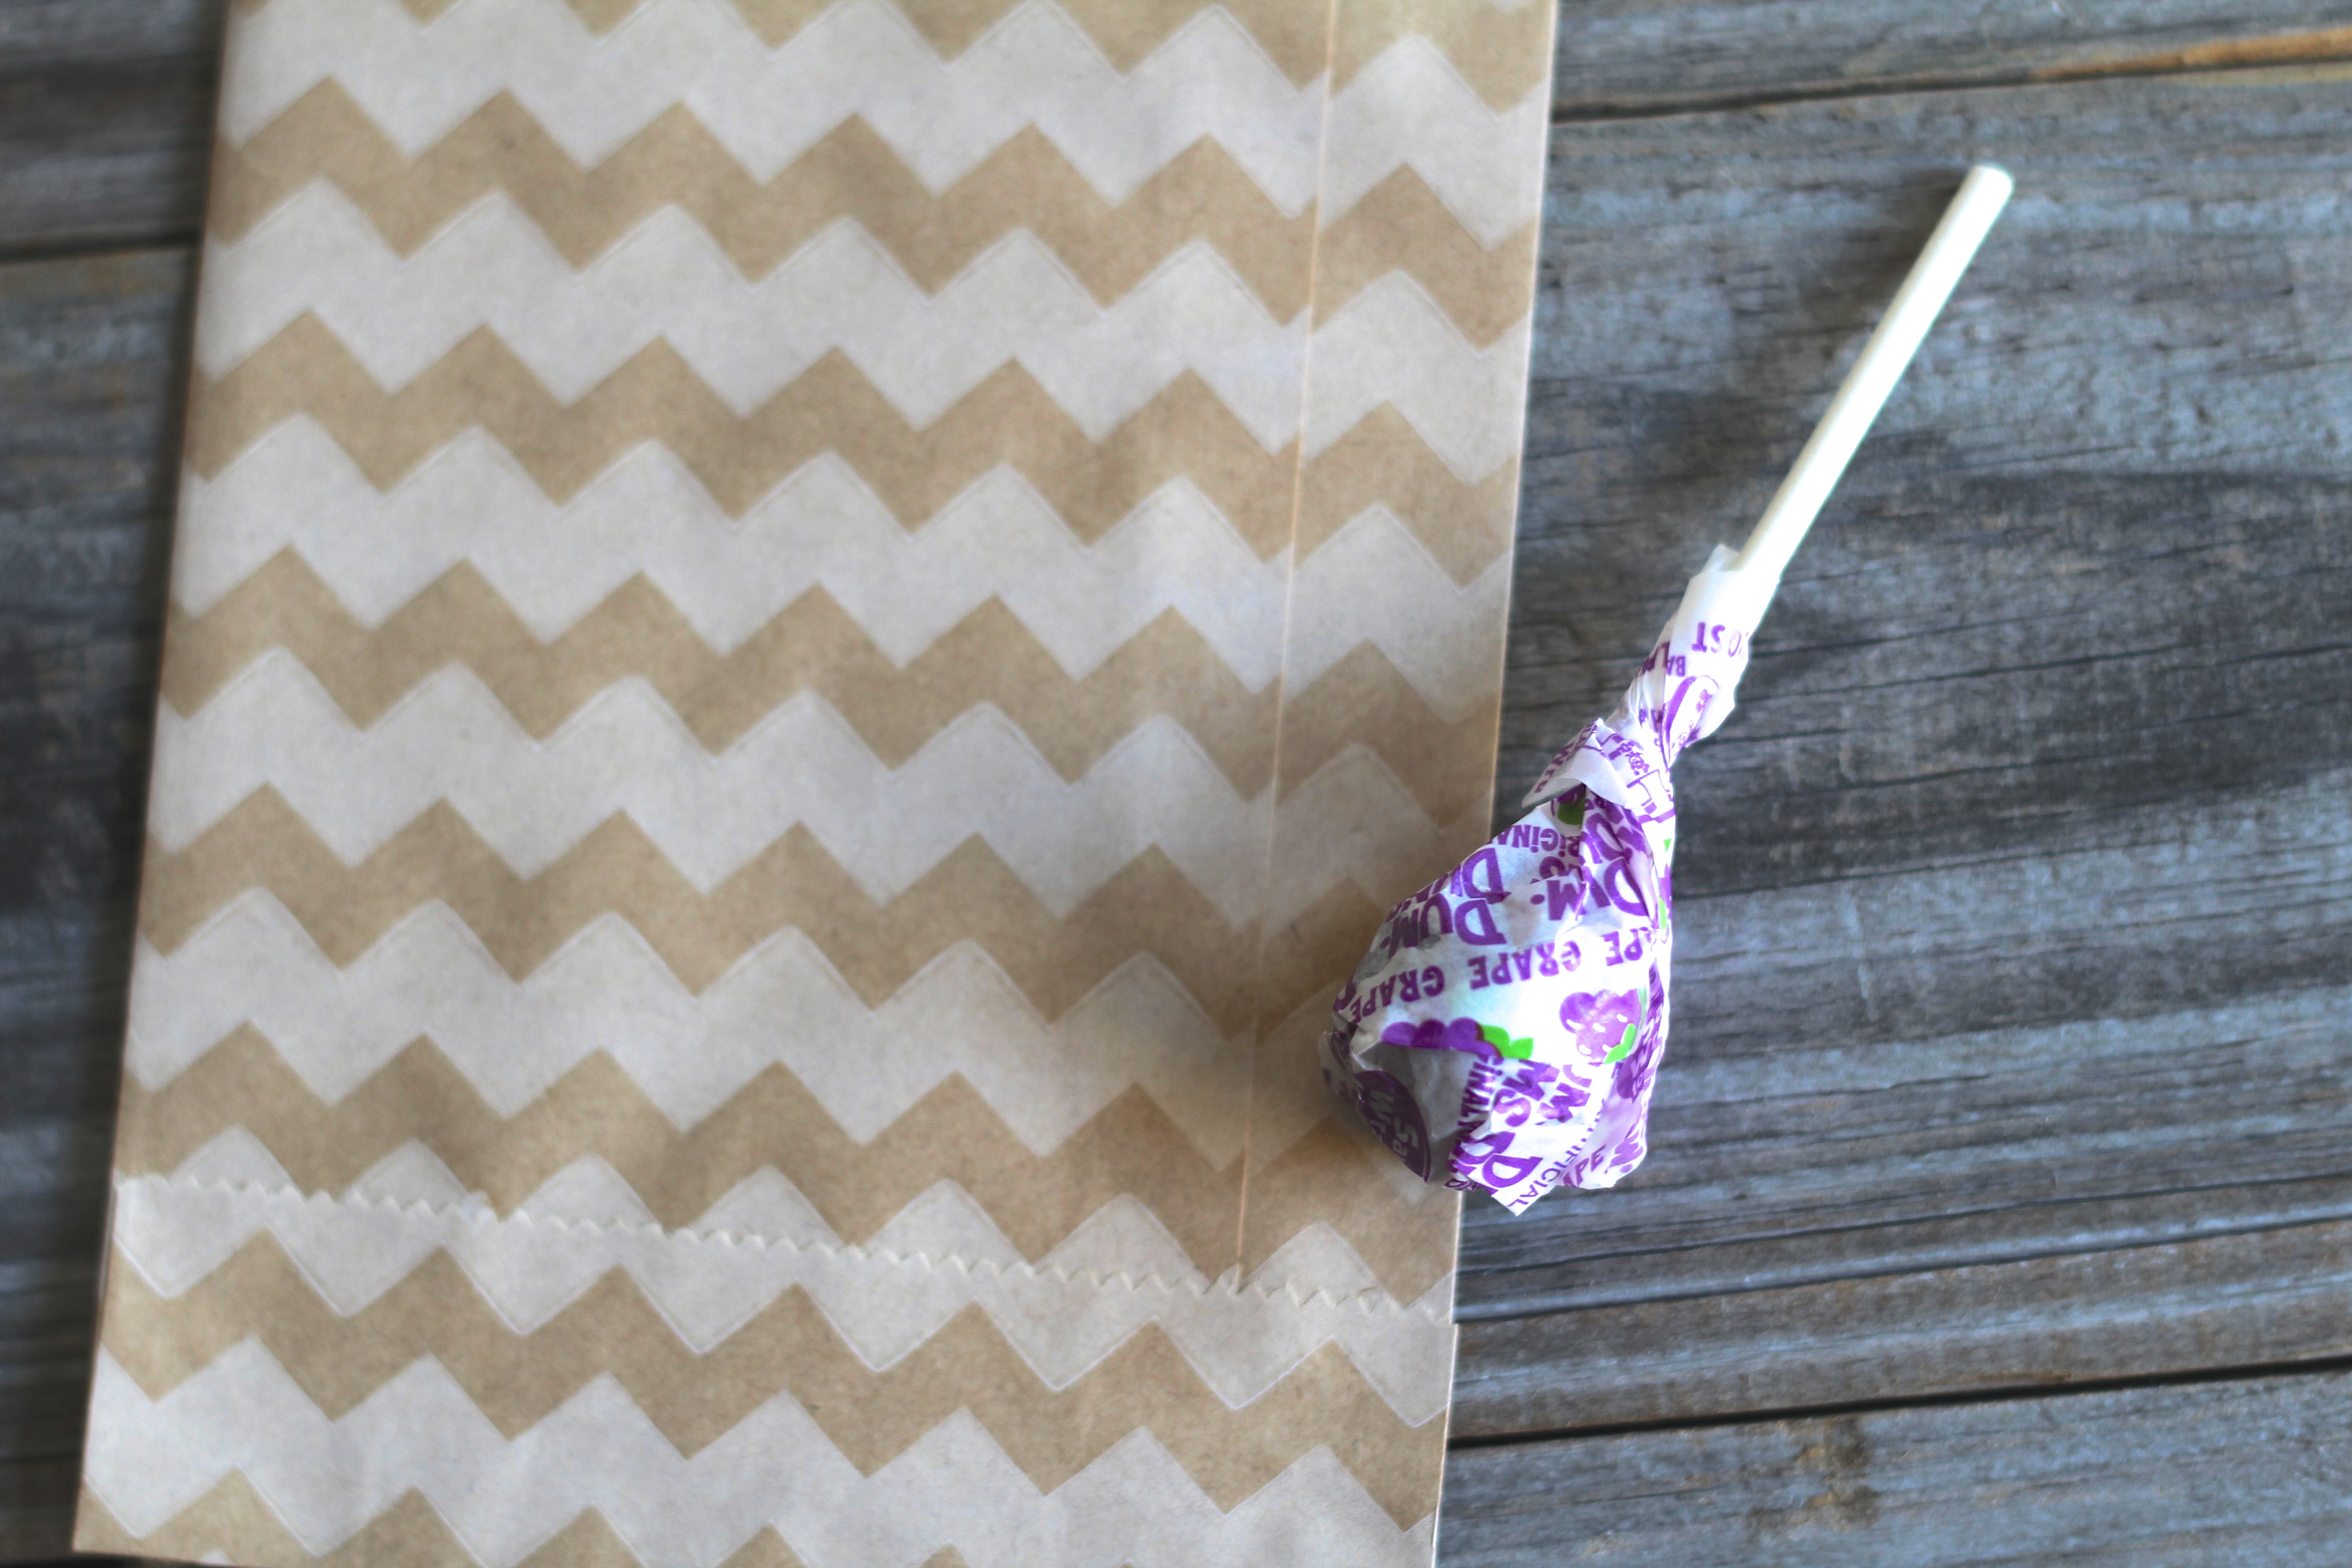
There are tons and tons of step by step tutorials to make witch brooms, but essentially, you will need to wrap a lollipop in a small paper bag.  I had to cut mine down.  Then cut a strip to cover the candy.  Cut slices into that strip, and wrap it around the lollipop.  I used double sided tape to hold it in place while I wrapped it, and then tied it with baker's twine.  


Everyday Party Magazine 13 Days Of Handmade Halloween 2015


 My friend was so excited by her birthday cupcake, I decided I would have to make some for my sister's upcoming birthday too!


What a fun way to treat! Thanks, Jessica for sharing. 
Looking for more Handmade Halloween treats, view our archives here!


Tuesday, October 20, 2015

How to Make a Day of the Dead Headband


Hey there! Tonya Coleman from Soiree Event Design here and I am happy to be back again this year to share another tutorial as part of the 13 Days of Handmade Halloween with so many other talented party people! This tutorial was inspired by my daughter, Faith who is an avid DIY'er! She makes things ALL THE TIME and one of her signature crafts is her custom headbands. So, I asked her to teach me how to make a Day of Dead Headband that I could wear this year for Halloween with my super cool Day of the Dead mask. Now all of you can find out how too!

If you like her tutorial, you can find her over on her own YouTube channel where she teaches LOTS of really cool DIY projects! Click here to see this entire tutorial on YouTube!

Let's get crafting! First we started with a trip to Michaels to get all of the supplies we needed that included: - Headband (wide band) - Acrylic paint (various colors) - 3 bunches of small white flowers - Plastic spiders - Paintbrush - Hot glue gun


Now that we have all of our supplies, we are ready to get started!


Step 1: Remove the flower heads from the stems 


Step 2: Hot glue the flowers all along the top of the headband


Step 3: Paint each flower a different color Don't paint the entire flower, you want to get a splatter effect by using a wide paintbrush and pushing down on to the center of each flower with the paintbrush. 


Step 4: Add a plastic spider 


That's it! Super easy and cute! Perfect for my Halloween outfit! We also created a Day of the Dead wreath to match this for my front door.


Cheers! Tonya

Styling & photography: Soiree Event Design
Tutorial: PastelGamerGirl13 (my daughter)
Supplies: Michaels

Tonya, your daughter certainly has inherited your creative gene!  Thanks to you, and Faith, for sharing!  Looking for more Handmade Halloween treats, view our archives here!


Monday, October 19, 2015

Ooey Gooey Caramel Apples


Today starts off week 3 and day 11 of the 13 Days of Handmade Halloween!  Today, Bethany Gist of Auntie Bea's Bakery is sharing her recipe for making Caramel Apples - YUM!


I am a sucker for a good Caramel Apple!  We are fortunate enough to live in the heart of apple counrty and we have access to the best organic fresh picked apples. As soon as Fall rolls around, we are apple pickin’ and in the kitchen making and decorating our own Caramle Apples.

Today, I’m sharing my family’s favorite Caramel Apple recipe.  I make the caramel and the kids gather all the fun toppings!

Caramel Apples aren’t as hard as you think!  I prefer to make my own caramel.  I love that I can add my own twist on flavors!  Vanilla, coconut extract, cinnamon….all equal total yumminess! Ready to dive in?

Heres’s what you need:
8-12 Apples (depending on size) washed and dried
1/4 cup of Butter
2 cups Granulated Sugar
1 cup of Light Corn Syrup
1 14oz can of Sweetened Condensed Milk
1 tsp of Extract (vanilla, coconut, maple, rum or butterscotch to name a few)
If you decide to add a spice you can add a tsp of cinnamon, pumpkin spice or cloves.
Add all your ingredients except extract and spices to a 2 quart pot.


Cook on a medium-low flame, stirring constantly until bubbling and a candy thermometer reads 250/soft ball stage.  Once it reaches this stage you will add your extract (and spices if desired).  Stir to completely incorporate.


I like to use organic apples because they don't have that waxy film on them.  That film tends to make the caramel slide off.  Make sure your apples are washed and dried and attach your sticks.  You can use heavy paper straws, pop sticks, Popsicle sticks or wooden apple sticks. Now start dipping.  I like to double dip ;)  The more caramel the better!


You will want to add your toppings as soon as you pull the apple out.  My kids picked, peanuts, milk chocolate, orange candy coating, toffee bits, Halloween sprinkles and mini chocolate chips.


After dipping and decorating, place on a cookie sheet lined with parchment paper to set.


Now here comes the fun part…EATING THEM!  Enjoy!


Thanks, Bethany for sharing this delicious treat - can't wait to make my own!  Looking for more Handmade Halloween treats, view our archives here!

Friday, October 16, 2015

Spooky Dessert Cups

Welcome to the 13 Days of Handmade Halloween! I've gathered 13 of my FAVORITE blogging friends to share a handmade craft to get you in the Halloween spirit! It's Day 9 and today Tiffany, from Fizzy Party is sharing several fun ideas for making spooky dessert cups!  


Halloween parties means a treats table.  The stars of the treats table are usually cake, cookies, cupcakes and pumpkin pie.  For the small treats like candy corn, gumballs and chocolate candies, I like to serve them in little cups I embellish up to match the theme of the party. This DIY is so simple and easy you can do it last minute while watching a Halloween movie.


First go to a dollar store and pick up a pack of plastic water glasses. They're the perfect size for small candies. Then hit up a craft store for stickers, clips, ribbon, feathers etc.  Or if you're like me you have all these items back in your craft room already.
13 Days of Handmade Halloween DIY Treat Cups

Having a Poe inspired party?  Add a raven clip and use a glue dot to attach a feather to the stem.  Simple, quick and your guests will love the detail you added to an otherwise boring plastic water glass.


DIY Halloween Treat Cups, Feather and Clip Embelishments

Haunted House themed party?  Pick up some felt, cut out a spooky face and attach to the cup with glue dots. As you can see from the slightly blurred image, this cup is haunted.

DIY Halloween Treat Cups, Felt Embellishments

Craft stores have lots of great Halloween stickers to match any party theme.  Just peel the sticker off it's backing and attach to the glass.  Stickers stick great to the plastic cups.  Adding a little bit of ribbon gives the glass that extra detail.

DIY Halloween Treat Cups, Sticker and Ribbon Embellishments

Purple is a great colour for Halloween so for this last cup I attached a glittery flying witch sticker and tied a tulle pom to the stem.

DIY Halloween Treat Cups, Tulle Pom and Sticker Embellishments

I love this Halloween project because it's so simple and can match any theme.  The kids can even help you create these for the party.


That really is a versatile treat idea, Tiffany!  Thank you so much for sharing!  Looking for more Handmade Halloween treats, view our archives here!


Thursday, October 15, 2015

DIY Halloween Treat Bag


Welcome to the 13 Days of Handmade Halloween!  I've gathered 13 of my FAVORITE blogging friends to share a handmade craft to get you in the Halloween spirit!   It's Day 9 and today Michele, from Sweet Threads Clothing Co. is sharing a DIY HALLOWEEN TREAT BAG! 

Happy Halloween! Add a little sparkle to your little one's trick or treating with this DIY treat bag!


To get started, you will need 1 medium size canvas tote bag in black, 1 sheet of glitter iron-on transfer paper in gold, coordinating ribbon of your choice, scissors and an iron. *Most major craft stores should have all the supplies needed for this project.


Using our "BOO" template, cut out and trace the letters on the back of your iron on transfer sheet. Remember to trace in reverse as we will be ironing them on with the glitter side up.


Cut out letters on glitter paper and place on bag. Place an old pillowcase or towel on top of letters and iron on using medium-high heat.


I wanted to add a little extra embellishment to the bag so I made a bow out of coordinating ribbon. Cut about a 2'" strip of ribbon and creating a loop out of the strip. Using needle and thread, wrap the thread around the center of loop and pull tightly. Gently form into a bow shape trimming end pieces if needed.


Sew or glue the ribbon directly onto the bag.


Your little one is all set for trick-or-treating!!! This also makes a super sweet gift bag as well if you are headed to any Halloween parties! Happy Halloween, everyone!


Thanks Michele, this Halloween Treat Bag is 'totes' fab and chic!   Looking for more Handmade Halloween treats, view our archives here!


Related Posts

Related Posts with Thumbnails