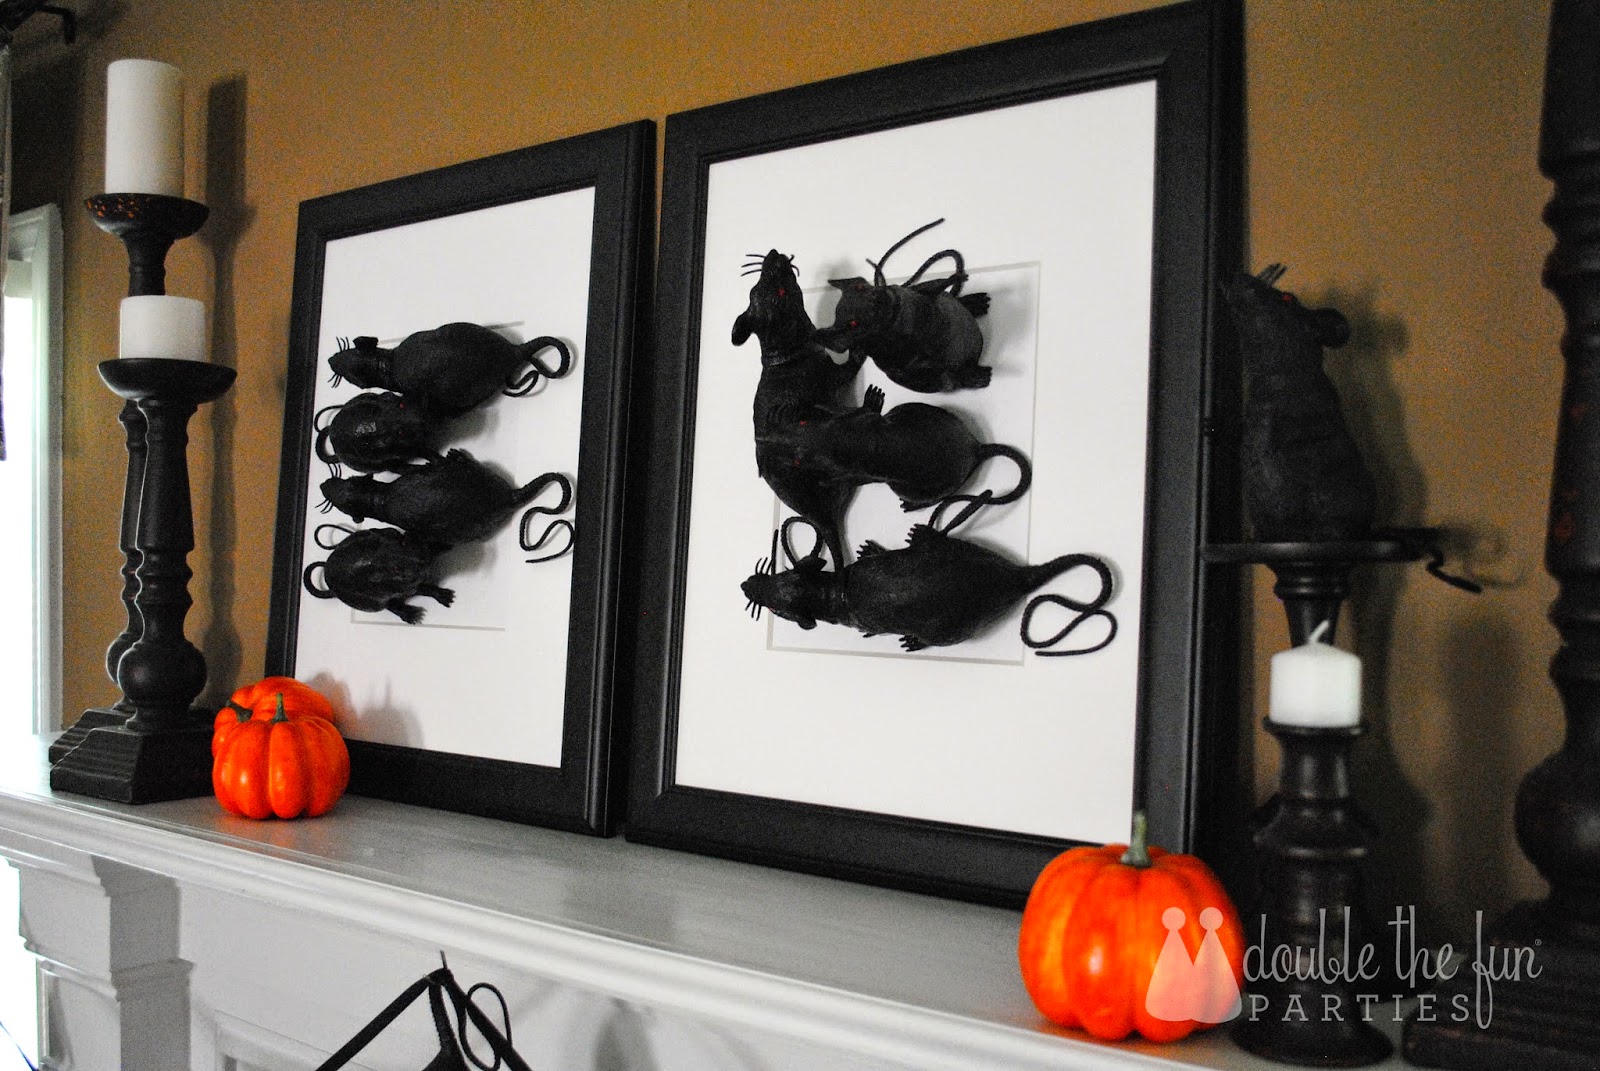
I honestly never thought I’d be inspired by black rats, but I suppose stranger things have happened at the dollar store. As I was checking out with a basket of 18 toy rats, the cashier looked up at me and said, “Lord, honey, what’re you gonna do with all those rats?” She looked very skeptical when I responded they were for a party.
I couldn’t have been any more specific, because all I knew at the time was that some of them would become bunting and the others would be “art.” Here’s how to make 3-D black rat art for your Halloween party!
Supplies • 14″ x 18″ black picture frame, matted to 8″ x 10″ – 2 • 20″ x 30″ white foam core board • Pencil • Box cutter • Toy rats from Dollar Tree – 8 • Hot glue gun or E6000 glue
Instructions 1 – Remove backing, mat and glass from the frame.
2 – Use the backing to trace its shape onto the form core board. Trace two.
3 – Cut out the shapes you traced using the box cutter.
4 – Put the mat back in your frame. (Do not put the glass back in the frame.)
5 – Put the foam core cut-out in the frame. (You can see from the back of my foam core that I’ve used it for painting projects before.)
7- Now use the hot glue or E6000 glue to adhere the bottoms of the feet
and hineys to the foam core. I used hot glue. Later, one of my “sitting
on its hiney” rats fell off the foam core. (I swear, this is the
strangest tutorial I’ve ever written.) All the other rats stayed on just
fine.
8 – Here’s how I arranged the rats in the second frame. I used two “all
fours” rats and two “hiney” rats. The upper right rat is the one that
fell off. I just peeled the dried hot glue off of him, used E6000, let
it dry for an hour and then put the frame back in action. The E6000 glue
did the trick.
This project only took about 20 minutes. It was inexpensive and
created great impact. Here are the frames at the party. I hope you’ll
join me over at Double the Fun Parties to see the entire party!


No comments:
Post a Comment